Help DNAGedcom Client - Install
Overview
This page will show you how to install DNAGedcom client on Windows and Mac
Windows DNAGedcom Client Install
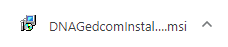
To install DNAGedcom Client for Windows, first download the installer from this link. When the file finishes downloading, you will see an icon that looks like this in the bottom corner of your browser window.
You can Run this by either double clicking on it or Right click and choose Run. Your browser might have other options.
If you don't see the icon, you can run it from your Downloads folder. The icon will look like below and have a name DNAGedcomInstaller.msi. Again, right click it and choose Install or double click it to run it.
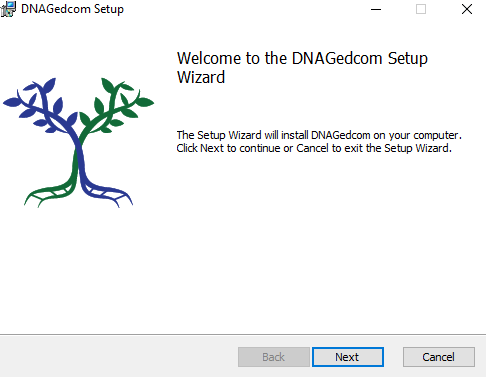
Once you run the installer, you should see the following screen. Click Next to continue
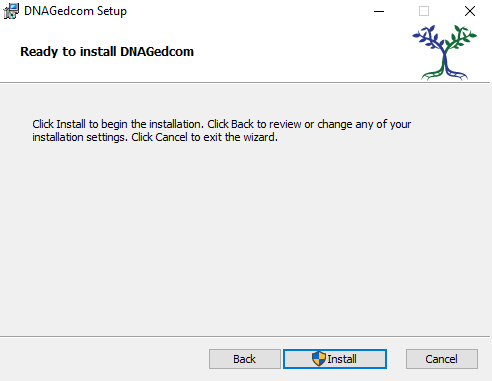
You will now see the following screen. Click Install.
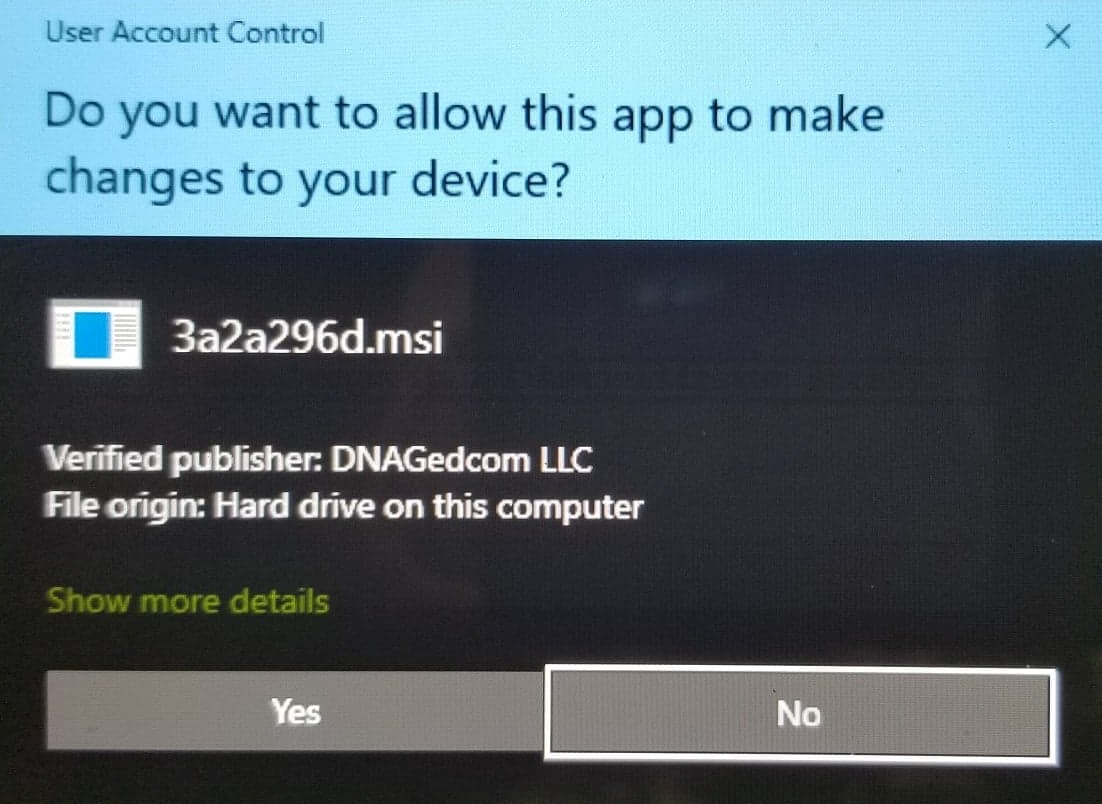
After clicking Install, your screen may go blank and then you will see the following window. If you do, please click Yes to continue to install.
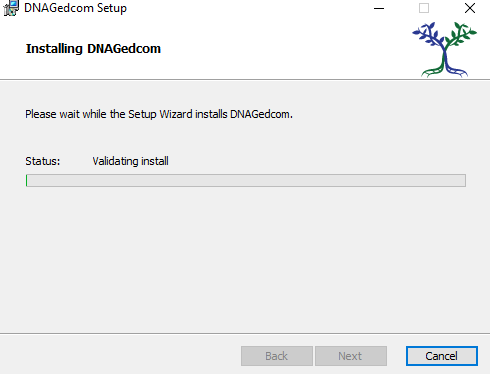
The installer will then start to prepare and copy the files.
When the installation is finished you will see the next screen. At this point you can click Finish and the installation is completed.

You can now use the program by going to Start looking for DNAGedcom and opening that folder. Then choose DNAGedcom. You can also use search and type DNAGedcom to start the application.